

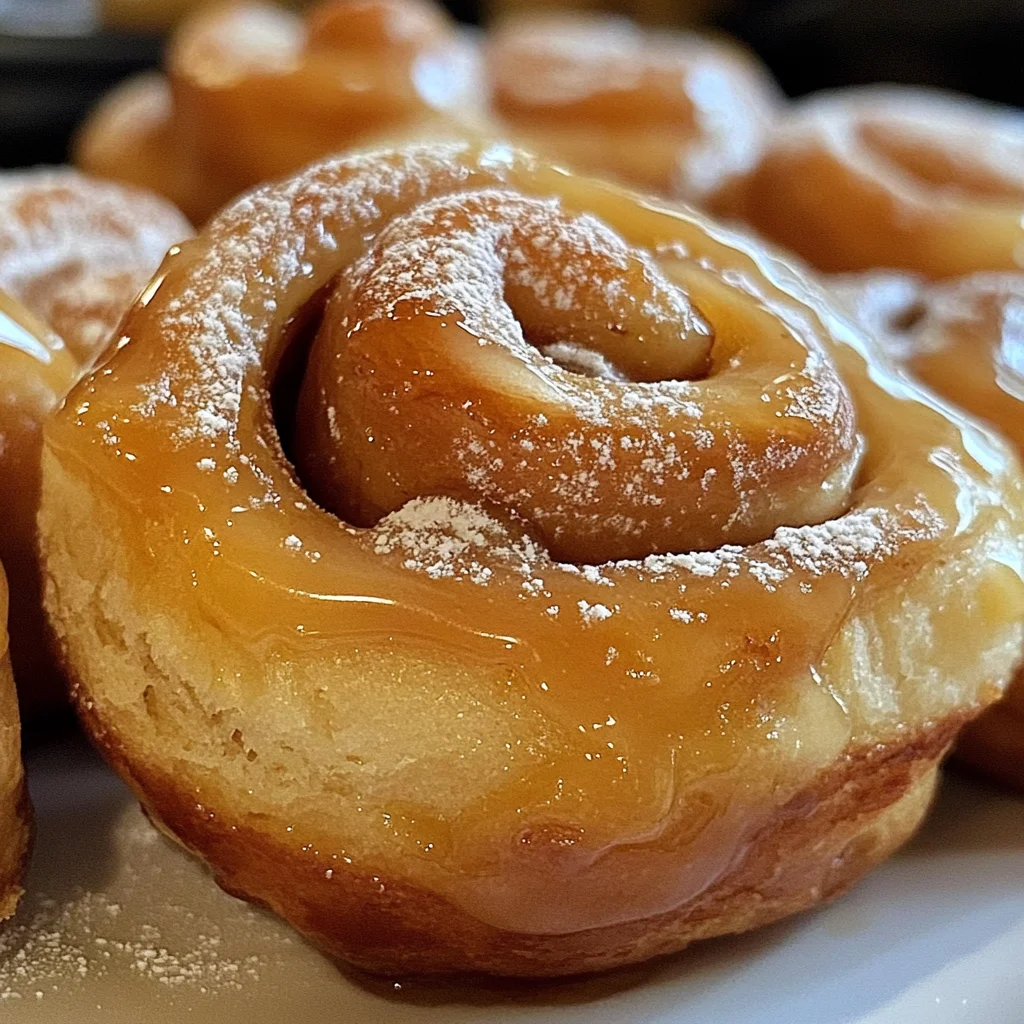
Homemade Honey Buns are a delightful treat that brings back nostalgic memories for many. These soft, sweet buns are perfect for breakfast, brunch, or as an afternoon snack. With their fluffy texture and sweet glaze, they are sure to impress friends and family at any gathering. Plus, this easy recipe allows you to create these classic honey buns right in your own kitchen.
Why You’ll Love This Recipe
- Deliciously Sweet: The combination of honey and cinnamon creates a flavor that is irresistible.
- Easy to Make: With simple ingredients and straightforward steps, you’ll be making these honey buns in no time.
- Perfect for Any Occasion: Serve them at parties, family gatherings, or enjoy them as a cozy treat at home.
- Customizable: Feel free to add in your favorite spices or toppings to make these buns uniquely yours.
- Great for Sharing: This recipe yields 14 servings, making it perfect for sharing with loved ones.
Tools and Preparation
To prepare your Homemade Honey Buns, you’ll need some essential tools that make the process smoother and more enjoyable.
Essential Tools and Equipment
- Mixing bowl
- Rolling pin
- Baking sheet
- Frying pan
- Measuring cups and spoons
Importance of Each Tool
- Mixing bowl: A reliable mixing bowl is essential for combining dry and wet ingredients easily.
- Rolling pin: This tool helps shape the dough evenly for consistent cooking results.
- Frying pan: A sturdy frying pan is crucial for achieving that perfect golden-brown exterior on your honey buns.
Ingredients
A favorite classic honey bun recipe with that famous glaze we all grew up loving.
For the Dough
- 2¼ cups all-purpose flour
- ¼ cup sugar
- ½ tsp salt
- ⅔ cup whole milk
- 1 packet instant yeast
- ⅓ cup butter (melted, cooled)
- 1 large egg
- 2 tsp alcohol-free vanilla extract
For Frying
- 1½ tsp vegetable oil
- 2-2½ cups vegetable oil (for frying)
For the Glaze
- 3 tbsp butter (melted)
- 1¼ cup powdered sugar (sifted)
- 2 tbsp milk
- 2 tsp honey
- ½ tsp alcohol-free vanilla extract
How to Make Homemade Honey Buns
Step 1: Prepare the Dough
Start by combining the flour, sugar, salt, and instant yeast in a mixing bowl. In a separate bowl, whisk together the warm milk, melted butter, egg, and alcohol-free vanilla extract. Gradually add the wet ingredients to the dry mixture while stirring until a dough forms.
Step 2: Knead the Dough
Turn the dough onto a floured surface and knead it gently for about 5-7 minutes until smooth. Place it in a greased bowl and cover it with a cloth. Let it rise in a warm place for about 90 minutes or until doubled in size.
Step 3: Shape the Buns
Once risen, punch down the dough to release air bubbles. Roll it out into a rectangle about ½ inch thick. Brush with melted butter and sprinkle cinnamon over the surface. Roll tightly into a log and cut into 14 equal pieces.
Step 4: Fry the Buns
Heat vegetable oil in a frying pan over medium heat. Carefully add each bun to the hot oil, frying until golden brown on all sides. Drain on paper towels after frying.
Step 5: Make the Glaze
In a small bowl, combine melted butter, powdered sugar, milk, honey, and alcohol-free vanilla extract. Mix until smooth.
Step 6: Glaze Your Buns
Once cooled slightly, drizzle the glaze over each bun generously before serving.
Enjoy your Homemade Honey Buns warm or at room temperature!
How to Serve Homemade Honey Buns
Homemade honey buns are delightful treats that can be enjoyed in various ways. Whether you serve them for breakfast, dessert, or as a snack, these sweet delights can be paired with different accompaniments to elevate the experience.
With a Cup of Coffee
- Pair your honey buns with a hot cup of coffee for a classic breakfast combo. The rich flavor of coffee complements the sweetness perfectly.
Drizzled with Extra Honey
- Add a touch more sweetness by drizzling warm honey over the buns. This enhances their flavor and gives them an appealing shine.
Served Warm with Butter
- Enjoy honey buns warm with a pat of butter. The melted butter adds richness and makes them even more indulgent.
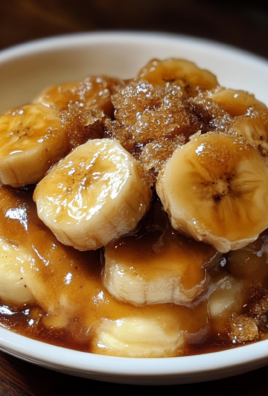
Accompanied by Fresh Fruit
- Serve your honey buns alongside fresh fruit like berries or sliced bananas for a refreshing contrast. This adds color and nutrition to your plate.
With Whipped Cream
- For dessert, top your honey bun with whipped cream. This light topping balances the sweetness of the bun and makes it feel extra special.
How to Perfect Homemade Honey Buns
Perfecting homemade honey buns is all about attention to detail and practice. Here are some tips to help you achieve fluffy and delicious results every time.
-
Use Fresh Yeast: Always check the expiration date on your yeast packet. Fresh yeast ensures proper rising for soft and fluffy buns.
-
Knead Well: Ensure you knead the dough until it’s smooth and elastic. This develops gluten, which helps in getting that perfect texture.
-
Allow Adequate Rising Time: Be patient during the rising process. A longer rise allows flavors to develop and gives your buns their airy structure.
-
Maintain Oil Temperature: When frying, keep the oil at the right temperature (around 350°F). This helps achieve crispy exteriors without soggy insides.
-
Cool Before Glazing: Let the honey buns cool slightly before adding glaze. This prevents it from melting away and keeps it intact on your buns.
Best Side Dishes for Homemade Honey Buns
While homemade honey buns are delicious on their own, they can be complemented with various side dishes for a more complete meal. Here are some great options to consider:
-
Fresh Fruit Salad: A mix of seasonal fruits adds freshness and balances out the sweetness of honey buns.
-
Yogurt Parfait: Layer yogurt with granola and berries for a nutritious side that contrasts beautifully with the soft texture of the buns.
-
Scrambled Eggs: Fluffy scrambled eggs provide protein that pairs well with sweet treats, making for a balanced breakfast option.
-
Crispy Hash Browns: The crispy texture of hash browns offers a wonderful contrast to soft honey buns, creating an enjoyable breakfast experience.
-
Smoothie Bowl: Blend up your favorite fruits into a smoothie bowl topped with nuts or seeds for a refreshing side that complements the sweetness.
-
Nut Butter Spread: Offer nut butters such as almond or peanut butter for those who enjoy an added layer of flavor on their honey buns.
Common Mistakes to Avoid
When making Homemade Honey Buns, it’s easy to make a few common errors that can affect the outcome. Here are some mistakes to watch out for.
- Skipping the yeast proofing – Not activating the yeast properly can lead to dense buns. Always check the yeast’s freshness and let it bloom in warm milk before mixing.
- Overworking the dough – Kneading too much can make the buns tough. Mix until just combined and allow them to rise gently for the best texture.
- Incorrect frying temperature – Frying at too high or too low a temperature can result in greasy or undercooked buns. Use a thermometer to maintain a steady temperature around 350°F (175°C).
- Neglecting the glaze – A good glaze is essential for flavor. Don’t skip it! Combine powdered sugar, milk, honey, and vanilla for that classic sweetness.
- Not letting them cool – Serving them too hot can cause the glaze to melt away. Let your Homemade Honey Buns cool slightly before glazing.
Storage & Reheating Instructions
Refrigerator Storage
- Store in an airtight container for up to 3 days.
- Place parchment paper between layers if stacking to prevent sticking.
Freezing Homemade Honey Buns
- Wrap each bun individually in plastic wrap and then place them in a freezer-safe bag.
- They can be frozen for up to 2 months.
Reheating Homemade Honey Buns
- Oven: Preheat to 350°F (175°C) and warm the buns for about 10 minutes until heated through.
- Microwave: Heat on medium power for 15-20 seconds per bun, checking regularly.
- Stovetop: Place in a skillet over low heat with a lid for about 5 minutes, turning occasionally.
Frequently Asked Questions
Here are some frequently asked questions about making Homemade Honey Buns that may help clarify your baking process.
How do I make my Homemade Honey Buns fluffy?
To achieve fluffy buns, ensure your yeast is fresh and allow enough time for the dough to rise properly. Warm temperatures help with this process.
Can I use whole wheat flour instead of all-purpose flour?
Yes, you can substitute whole wheat flour; however, you may need to adjust the liquid slightly since whole wheat flour absorbs more moisture.
What is the best way to achieve a shiny glaze on my homemade honey buns?
For a glossy finish, mix powdered sugar with milk and honey until smooth. Brush it on while the buns are still warm but not hot.
Can I make Homemade Honey Buns without eggs?
Absolutely! You can replace eggs with unsweetened applesauce or a flaxseed mixture (1 tbsp ground flaxseed + 3 tbsp water) as an egg substitute.
Final Thoughts
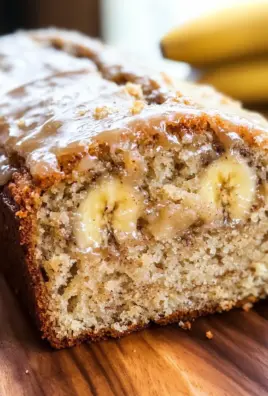
Homemade Honey Buns are an irresistible treat that brings back memories of sweet breakfasts and cozy gatherings. This recipe is versatile; feel free to add nuts or dried fruits for added texture or flavor. Enjoy crafting these delightful treats!
Homemade Honey Buns
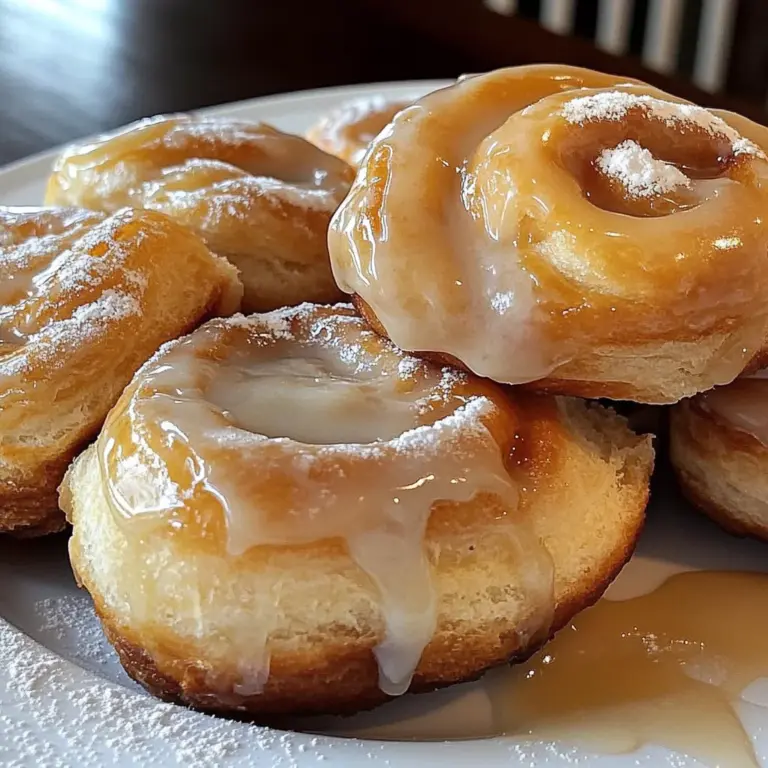
Homemade Honey Buns are a delightful treat that captures the essence of comfort food. These soft, sweet rolls are perfect for breakfast, brunch, or as a delightful afternoon snack. With a fluffy texture and a sweet glaze, they’re sure to become a favorite among family and friends. This easy-to-follow recipe allows you to whip up these nostalgic honey buns in your own kitchen, making them ideal for any occasion.
- Total Time: 45 minutes
- Yield: Makes 14 servings 1x
Ingredients
- 2¼ cups all-purpose flour
- ¼ cup sugar
- ½ tsp salt
- ⅔ cup whole milk
- 1 packet instant yeast
- ⅓ cup butter (melted, cooled)
- 1 large egg
- 2 tsp vanilla extract
- 1½ tsp vegetable oil
- 2-2½ cups vegetable oil (for frying)
- 3 tbsp butter (melted)
- 1¼ cup powdered sugar (sifted)
- 2 tbsp milk
- 2 tsp honey
- ½ tsp vanilla extract
Instructions
- In a mixing bowl, combine flour, sugar, salt, and instant yeast. In another bowl, whisk warm milk, melted butter, egg, and vanilla extract.
- Gradually add wet ingredients to dry ingredients while stirring until dough forms. Knead on a floured surface for 5-7 minutes until smooth.
- Place the dough in a greased bowl, cover it with a cloth, and let it rise in a warm place for about 90 minutes or until doubled in size.
- Once risen, punch down the dough and roll it out into a rectangle about ½ inch thick. Brush with melted butter and sprinkle cinnamon over the surface before rolling tightly into a log and cutting into 14 equal pieces.
- Heat vegetable oil in a frying pan over medium heat. Fry each bun until golden brown on all sides and drain on paper towels.
- For the glaze, mix melted butter, powdered sugar, milk, honey, and vanilla extract until smooth. Drizzle over cooled buns before serving.
- Prep Time: 30 minutes
- Cook Time: 15 minutes
- Category: Dessert
- Method: Frying
- Cuisine: American
Nutrition
- Serving Size: 1 honey bun (60g)
- Calories: 215
- Sugar: 9g
- Sodium: 120mg
- Fat: 8g
- Saturated Fat: 4g
- Unsaturated Fat: 3g
- Trans Fat: 0g
- Carbohydrates: 32g
- Fiber: 1g
- Protein: 3g
- Cholesterol: 20mg

Leave a Comment